Articles · 2026-08-25
How to let your technician mark defects on a photo
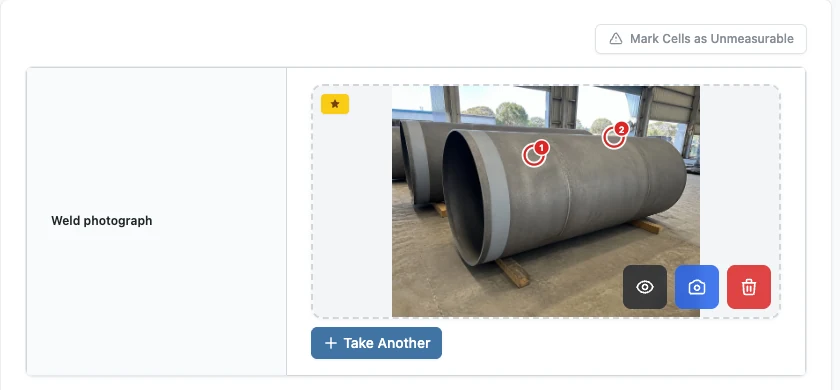
A photograph of a weld shows the weld. It does not show which part of it your technician was writing about. Stratum Track lets them ring and number what they found on the photo, and each number carries a type and a description through to the client's report.
This takes about a minute to switch on.
What you need
- A manager login.
- A form with a photo field on the step where the defects are found.
Step 1: Switch it on for that photo field
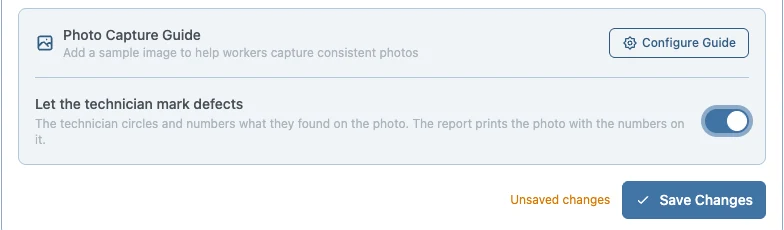
Go to Templates, open your form with Actions, then Review. The form opens on the Preview tab. Click the photo field, turn on Let the technician mark defects in its settings, and press Save changes. The same switch is on the field's card on the Structure tab.
Step 2: Open the photo on the job
Your technician takes the photo as they always have, then taps it, or its eye button, to open it. If the field also asks for a caption, the photo opens on Details, and tapping Defects opens the marking tools.
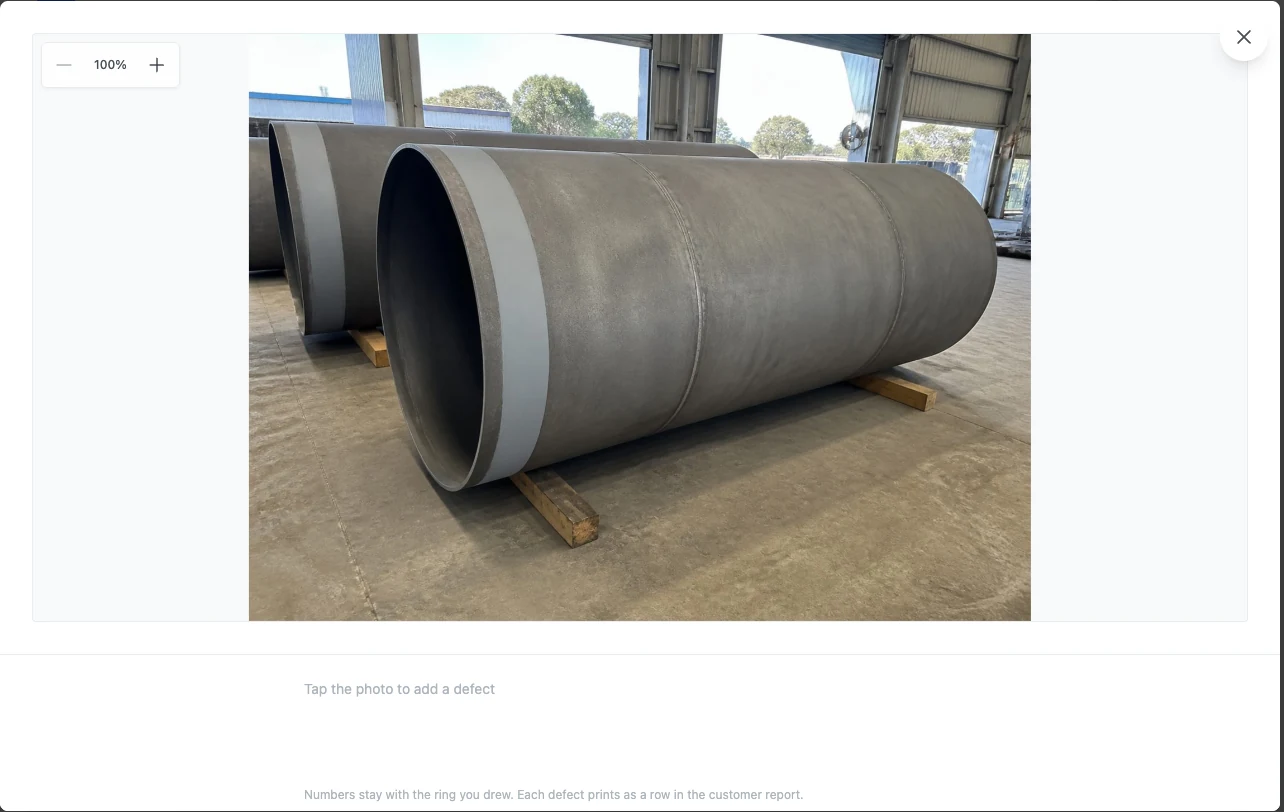
Step 3: Tap the photo
Every tap places a numbered ring where they tapped, and opens a line underneath for its details. Type is the short name, such as Undercut or Porosity. Description is the detail, such as how long it is and where it is on the weld. Ring size sets how big the circle is, as a percentage of the photo's shorter side: minus and plus step through twelve sizes, from 2% for a pinhole to 20% for a large defect. A new ring starts at the size last used on that tablet, and Apply to all gives every ring on the photo the same size.
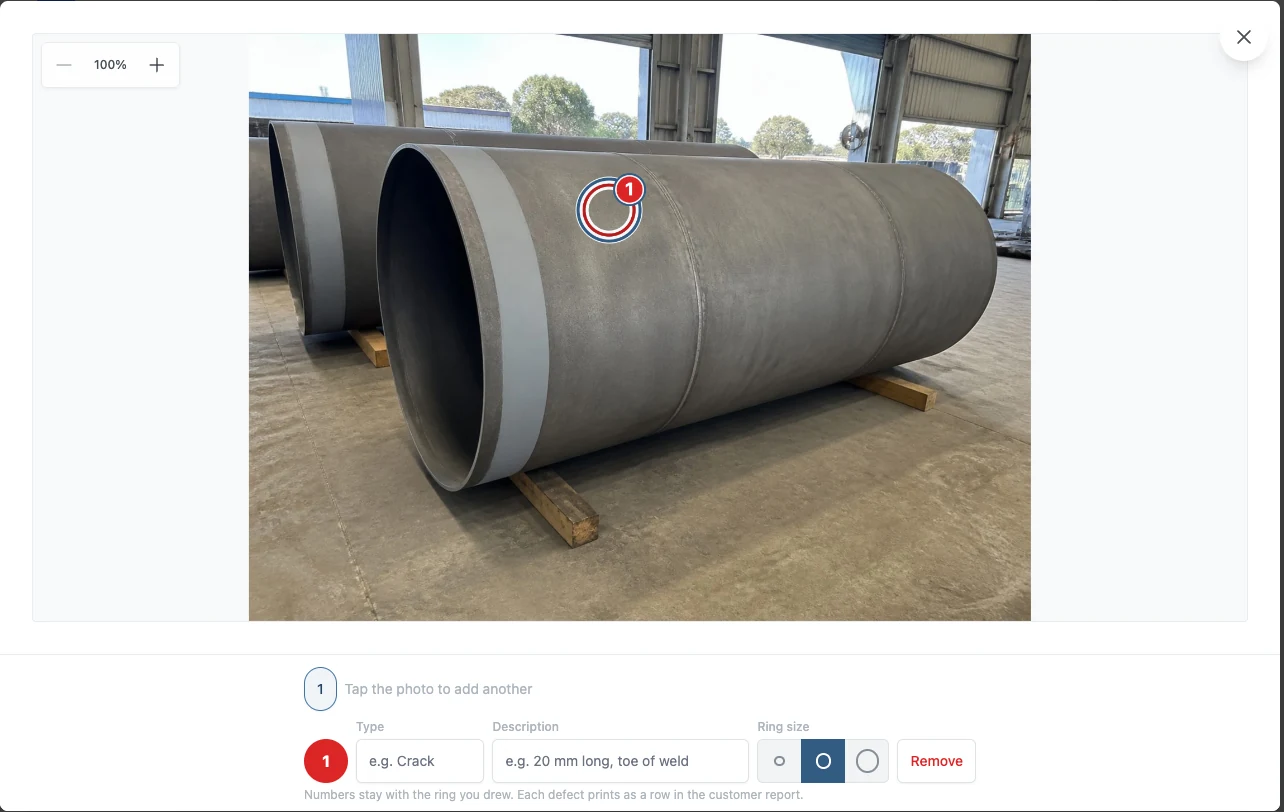
Step 4: Mark the next defect
Each new tap gets the next number. Numbers continue across the job's photos, so a ring on a second photo takes the number after the highest one on the job. The chips under the photo select a ring they have already marked, and Remove deletes the selected one.
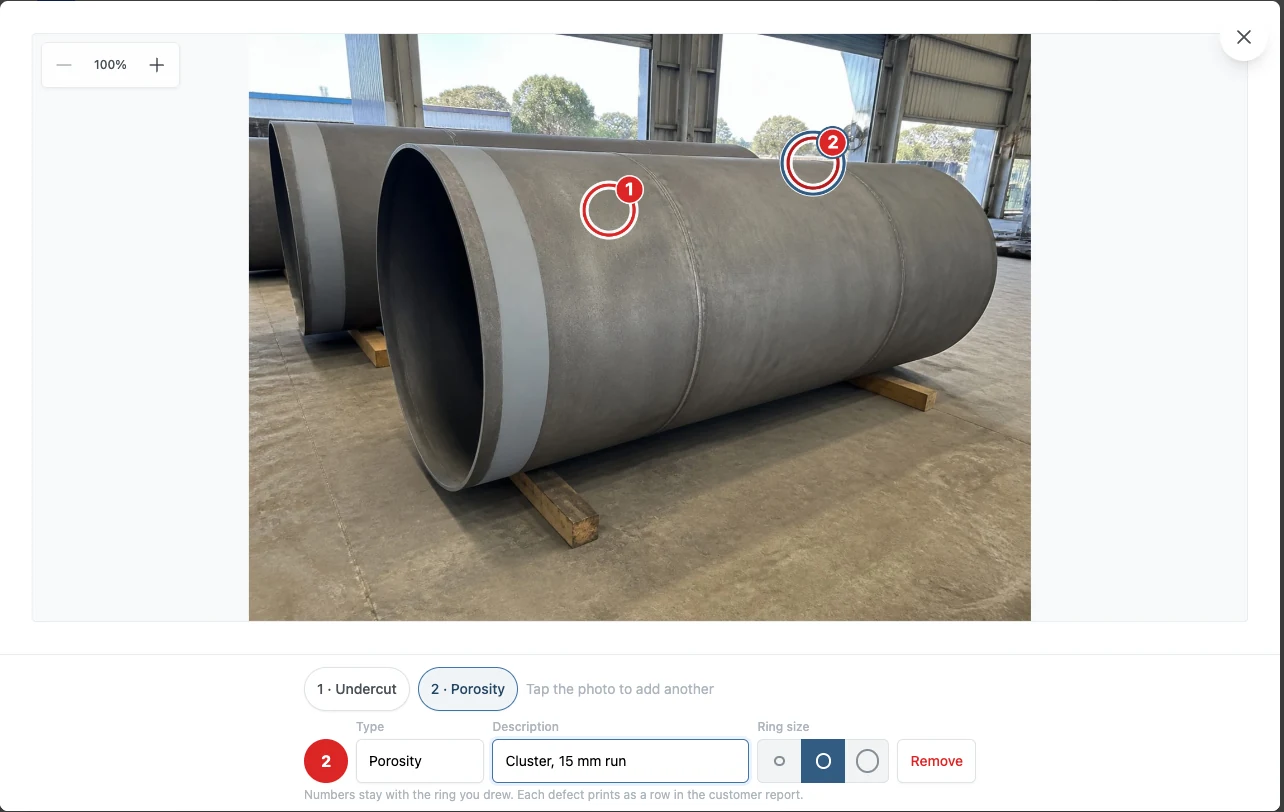
Step 5: Save the marks
Stratum Track saves the marks two seconds after the last change, and the line beside Save at the foot of the viewer then reads All changes saved. Save saves at once, and closing the viewer saves too. The marks show on the photo on the step, so anyone opening the job later sees them without opening the photo.
What the client sees
Stratum Track prints the photo with the numbers on it wherever that photo appears in your report, with nothing else to set up. Where rings sit close together, each number moves clear of the others, with a line back to its ring.
The list of findings beside it is a loop you put in a table row of your Word document once, where weld_photo is the photo field's report name:
{%tr for d in weld_photo.defects %}
Each pass gives you d.photo_no, d.defect_no, d.type and d.description, so your client reads the photo and the list together. Field Reference, under Actions on your form, lists the whole row for each photo field with defect marking on, ready to copy, closing tag included. Ask us if you would rather we put it in your document for you.
Worth knowing
- The numbers stay with the ring they were drawn on. Removing number 2 does not renumber the rest.
- It is off unless you turn it on. A photo field with the switch off behaves exactly as it always has.
- You set it per photo field. Switch it on for the weld photo and leave the general site photos plain.
- Sixty marks per photo. If one picture needs more, take a second picture.
Common questions
Does my technician need a different app?
No. It is the same photo they already take on the step, opened the same way. They tap the saved photo, or its eye button, and the marking tools are in the same viewer, under Defects when the field also asks for a caption. There is nothing to install, and the switch in the field's settings is the only setup.
Can they move a ring after they have drawn it?
Yes. They press and hold the ring until it grows, then drag it to where it belongs. A ring that is already selected moves straight away, without the hold. The ring keeps its number, type and description wherever it goes. A swipe across a ring without the hold does not move it.
What happens if they mark nothing?
Nothing. The photo prints in the report as it always has, with no rings on it, and the defects loop in your Word document gives no rows for that photo. The switch adds the marking tools to the viewer, so a technician can leave a photo unmarked and save the step as usual.